
A reverberation, or Reverb, is created when a sound or signal is reflected causing numerous reflections to build up and then decay as the sound is absorbed by the surfaces of objects in the space – which could include furniture, people, and air.
Reverb is the feeling of space, it is a real life phenomenon, where the sound has to be in an acoustic space and you listen to the actual sound and the reflected sound in the same acoustic space. To understand in short, reverb means space.
This can be achieved by using plug-ins, which creates a sense of illusion of the desired space using various parameters. Here are some tips which would improve the way you use your reverbs in your DAWs.
1. SETTING IT AS A SENDS AND RETURN PATH ORDER INSTEAD OF USING IT AS AN INSERT
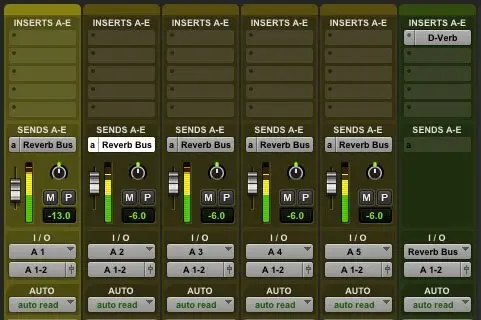
When a reverb plug-in is used as an insert, though it results with interesting sonic character but it leaves really less scope in blending the reverb with the actual source. So, when we separate the two and use it as a send and a return path order, we can create interesting blend of the dry (source) to the wet (reverb) signal, and there is a scope in processing the individual reverb channel as well. The ratio of dry to wet can be controlled with a parameter “dry/wet” whose value ranges from 0-100%.
2. CHOOSING REVERB PRESETS
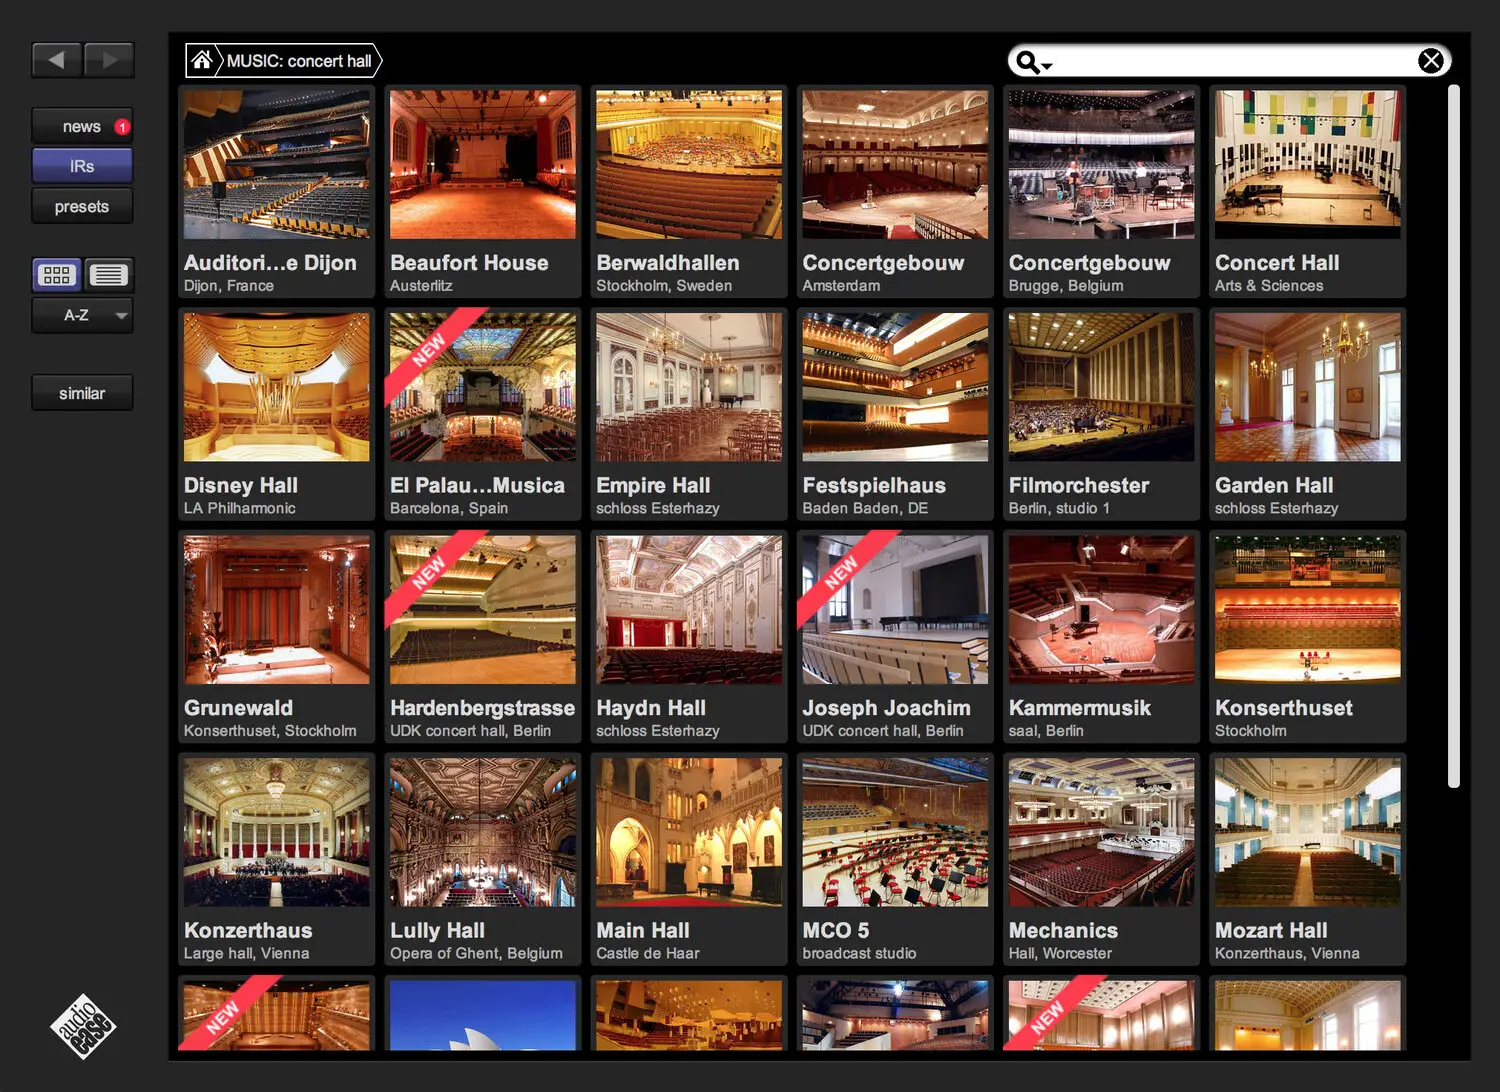
All reverb plug-ins come with some great pre-loaded presets. These presets serve as a starting point for the reverb sound. Choosing a reverb preset from the way it sounds is more important, rather than going by the name. Taking time and listening them in context with your song takes you a long way in choosing the most suited reverb for your track.
3. BASE YOUR REVERB TIME ON TEMPO
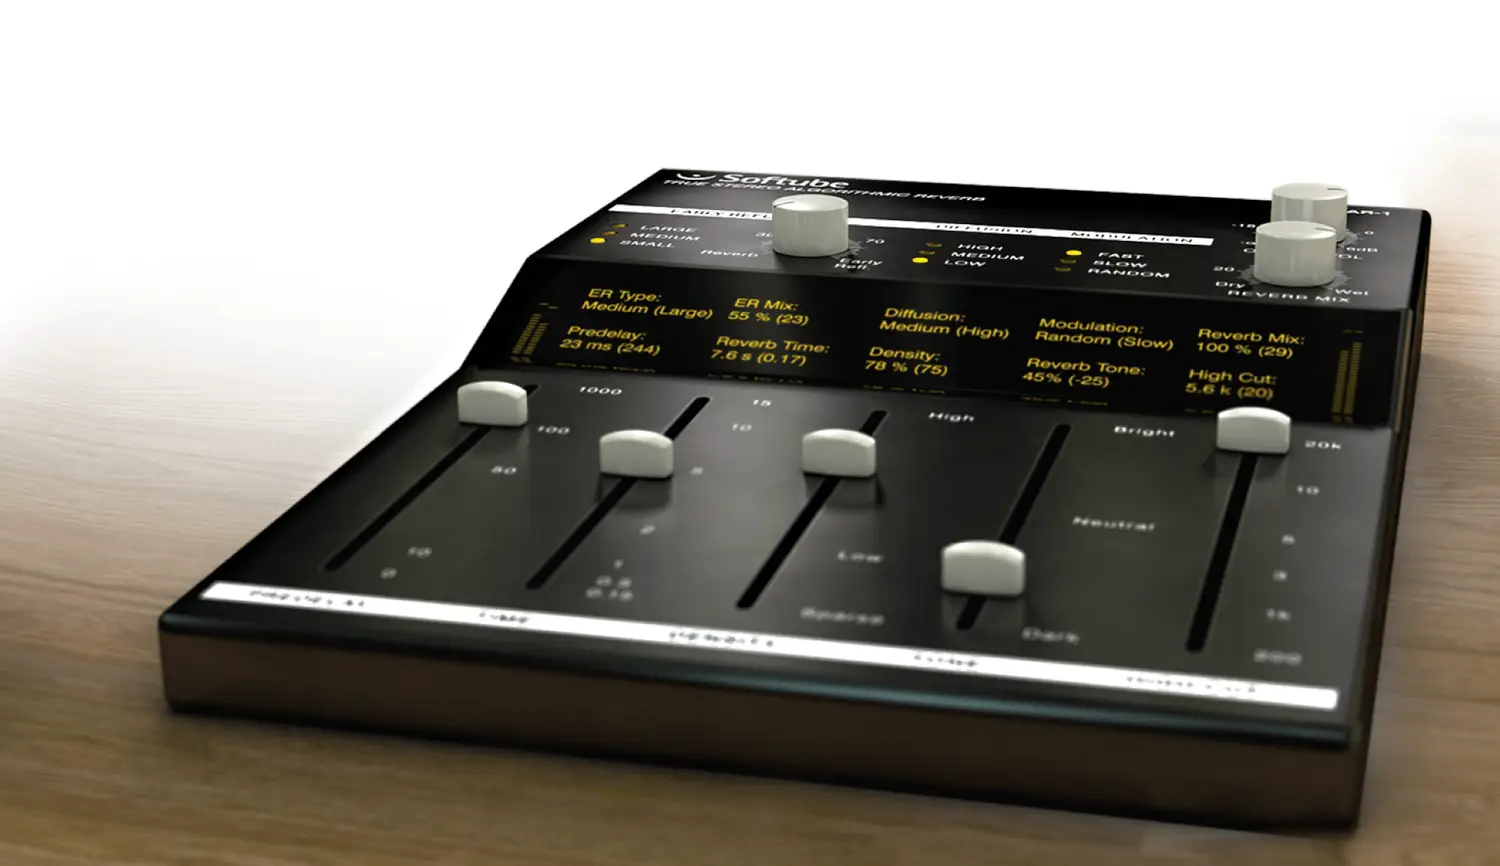
Generally setting up the reverb on the tempo, for most of the instruments. Faster the tempo, shorter the reverb time. Slower tempo allow for longer reverb times. This helps in clearing of the space just before the next note comes in. If you have a vocal performance with long, sustained notes, you will have enough space for a longer reverb. And if you have a rhythmically busy part in a slower tempo song, you will have to shorten the reverb time to prevent the reverb from washing out the direct sound or the mix as a whole.
4. TWEAK PRE-DELAY & EARLY REFLECTION
- Predelay is the time (in milliseconds) between the end of the initial sound and the moment when the first reflections become audible. Imagine you are on a stage, in a large music hall. This time you stand on the very edge of the stage and shout “Hello” towards the center of the hall. There will be a brief pause before you hear the first noticeable reflections of your voice, because the sound waves can travel much further before encountering a surface and bouncing back.
Longer pre-delay settings will add more depth to the reverb when the dry signal is up front in the mix. Shorter pre-delay settings will attach the “wet” reverb to the dry signal more closely.
- Early reflections are those that reach the listener a few milliseconds after the direct signal arrives. Your brain uses them to identify the size of the room you’re in. If you are trying to simulate a specific type of room, this control will be extremely important. This control allows you to set the level (in decibels) of the early reflections. The louder the early reflections, the smaller the room will seem.
5. The three D’s to take care of
- Decay Decay is the time a.k.a. Reverb Time or RT60 (in seconds) required for the reflections (reverberation) to die away. In most modern music production, reverb decay times of between one and three seconds are prevalent.
- Diffusion Diffusion controls the distance between early reflections. As you increase diffusion, the early reflections are closer together, producing a thicker sound. Lowering diffusion creates more discrete separations between reflections for a more open effect.
- Damping is the absorption of high frequencies in the reverberation. Low damping values yield less high-frequency absorption, whereas high damping values produce more absorption of high frequencies. Lower the damping for a brighter reverb in which the high frequencies decay for longer or raise the damping to choke the high frequencies.
6. KNOW YOUR REVERB TYPE
- Room Reverb resulting from the unique physical characteristics of rooms such as studios or living rooms or smaller acoustic space, which are typically smaller than halls and are designed for shorter decay times. Room reverbs are appropriate for vocals, guitars, pianos, drums — just about everything. When used in moderation, these reverbs can add space to a source while maintaining an intimate, in-person character.
- Plate Reverb resulting from a vibrating metal plate. In a real plate reverb, a large sheet of metal is suspended in an enclosure. Multiple transducers—a small driver and at least one small contact microphone or pickup—are attached to the plate. Dry signal is sent from a console or audio interface to the driver, which causes the plate to vibrate. The contact microphone picks up these vibrations and outputs them for use in the mixing system. The larger the plate and the further apart the transducers, the longer the reverb time.
- Spring: reverb resulting from small vibrating springs. Like plate reverbs, spring reverb units rely on vibrations to create reverb. Dry signal is routed to a transducer, which is attached to one end of multiple springs. Signal passing through that transducer causes the springs to vibrate. Those vibrations are picked up by another transducer on the other end of the springs. The longer the springs, the longer the reverb time.
- Chamber: reverb resulting from the unique physical characteristics of reverb chambers, which are reflective spaces such as a corridor or stairwell designed to house a speaker and microphone configuration for triggering and recording the reverb.
- Hall: reverb resulting from the unique physical characteristics of concert halls, which are typically large spaces acoustically designed for a long, smooth decay.
7. HEAR YOUR REVERB IN CONTEXT
A reverb may sound great in solo. Also nailing the dry to wet ratio might sound decent. But as soon as you listen in context with the entire song you would find shortcomings in all time that you have invested to get a great sounding reverb. Listening to the reverb in context of the mix would help in glueing the song or performance to one particular space and also helps in maintaining the reverb balance of all other instruments as well.
All these above mentioned tips would help you in nailing out a great sounding Reverb.